Last updated August 11, 2026. Steps based on hands-on use of Wisewand; pricing re-verified same-session from wisewand.ai.
This article contains affiliate links; if you buy through them we may earn a commission at no extra cost to you. Full affiliate and editorial disclosures are at the end of this article.
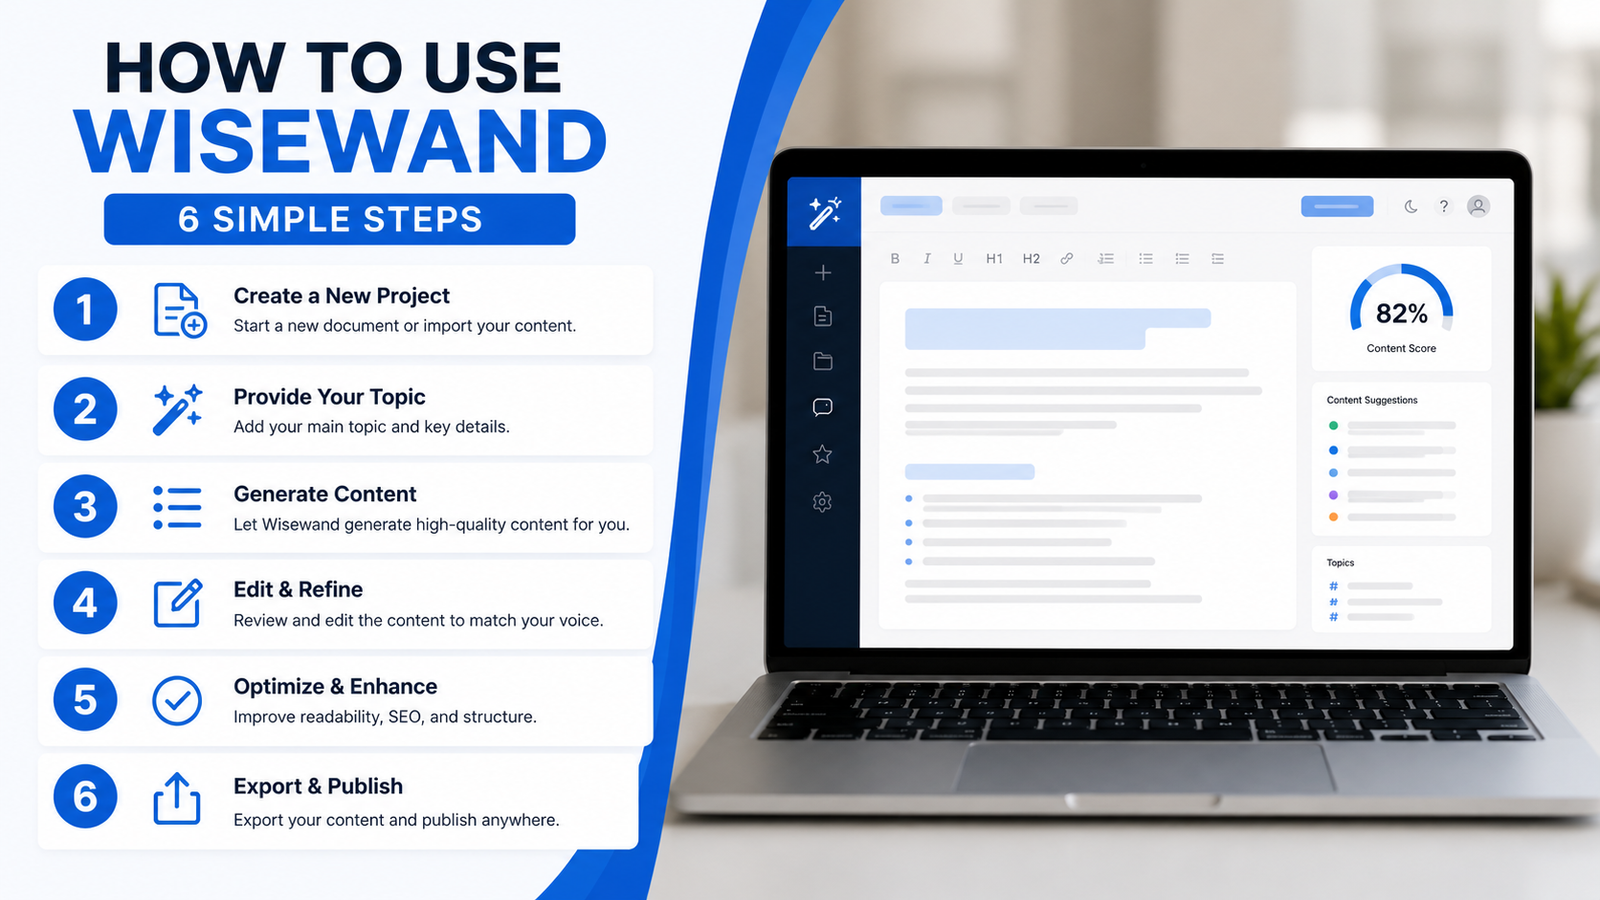
Learning how to use Wisewand comes down to one workflow: set up a project, point it at a keyword, and let it generate an SEO-structured article you can publish to WordPress. The tool is genuinely capable — but a few setup steps and one honesty habit separate content you can publish from content that will embarrass you. This guide walks the whole flow, step by step, based on testing it hands-on.
Bottom line upfront: Wisewand turns a keyword into a long-form draft with a cover image, internal links, schema markup, and direct WordPress publishing — in about 5–6 minutes. Set your language to English first, verify any products or stats it names before you publish, and start each article as a WordPress draft rather than publishing live. Try Wisewand here → and use code DAILYAI10 for 10% off any plan or credit pack.
What Wisewand Is (and Who This Guide Is For)
Wisewand is a French-built AI SEO writing platform that generates full articles — with SERP-aware briefs, automatic internal linking, schema.org structured data, AI images, and one-click publishing to WordPress, Shopify, WooCommerce, or PrestaShop. It has a dedicated Affiliation mode for review and comparison content, which makes it interesting for affiliate bloggers specifically.
This guide is for bloggers who have signed up (or are about to) and want to know how to use Wisewand well — a clear path from blank dashboard to published draft. If you are still deciding whether the tool is worth the money, read our full Wisewand review first; this article assumes you have decided to use it.
Before You Start: Switch the Interface to English
Wisewand is built in French and defaults some surfaces to French. The first thing to do is find the language dropdown in the bottom-left of the sidebar and set it to EN. The core interface is fully English once you do, and the bilingual rough edges from earlier versions are largely gone. Your dashboard shows a “To get started” panel with four steps — create a persona, connect WordPress, create a project, create an article — and that is the order this guide follows.
How to Use Wisewand: The Full Workflow
The first three steps are one-time setup. After that, every new article is just Step 4 onward.
Step 1: Create a Persona
A persona is a reusable style profile — the tone, expertise level, and voice Wisewand writes in. From the sidebar, open Personas and add one. You can write the style description yourself or paste an example of your existing writing and let Wisewand infer it. Give it a name (you will select it per project) and save. One persona that matches your blog’s voice is enough to start.
Step 2: Create a Project
A project represents one website. Open Projects → Add a project and fill in a title, your site URL, and an optional project brief (instructions applied to all content for that site). The detail most new users miss: turn on the “Enable content defaults” toggle. That is where the persona, content language, length, options, and WordPress publication settings live — set your language to EN / US here so every article inherits it instead of defaulting to French. Attaching your site URL to the project is also what makes automatic internal linking work later.
Step 3: Connect Your WordPress Site
Open Connections → Add → Connection to a WordPress site. You need four things: a connection name, your site URL, your WordPress username, and an Application Password (not your login password). Application Passwords are a built-in WordPress feature — create one under Users → Profile → Application Passwords in your WordPress admin. Wisewand now includes its own setup walkthrough and a short video right on the connection screen, which makes this far easier than it used to be. It is the same secure method Frase and NeuronWriter use, so if you have connected those it will feel familiar — see our Frase tutorial for the contrast.
Step 4: Create Your First Article
Click Create an article and pick a mode — Article (a standard blog post), Affiliation (tuned for affiliate reviews and comparisons), or E-commerce (category and product pages). For most blogging, choose Article.
In the Subject box, enter your target keyword. You can optionally paste between one and five source URLs for Wisewand to draw from. Confirm the settings row underneath: language (EN/US), the project you just created, your persona, and length (Automatic is fine to start). Then open the Brief and click Auto-fill — Wisewand analyzes the SERP and generates a target query, a search-intent summary, and a full outline in the Plan tab.
Edit the Plan before generating. This is the most important habit. Wisewand’s outlines for comparison topics often name specific competitor products as recommendations — and in our testing some of those names and feature claims came straight from the products’ own marketing, occasionally for tools that were stale or hard to verify. The outline is fully editable: reorder sections, delete ones that do not fit, and add your own. Treat its product picks as suggestions to verify, not decisions.
In the Options tab you choose what gets built into the article. Content-structure add-ons (table of contents, info table, bullet lists, FAQ) are free. Media costs extra credits: a cover image is 0.5 credits, illustrations or infographics 0.25 each, a YouTube embed 0.1, and an audio summary a full 1 credit. Under Links, turn on Internal linking (it needs your project’s site attached) — in our testing this pulled real, live, indexed URLs from the site and placed them in context, which is a genuine time-saver. You can also insert manual links (handy for affiliate links) and 2–4 external reference sources.
Step 5: Generate and Review the Draft
The Generate button shows the credit cost before you commit (a base article is 1 credit; the media add-ons above increase it, so a fully-featured post often runs 3–4 credits). Generation takes about 5–6 minutes for a full-length article — slower than the marketing’s “under 2 minutes,” but reasonable for what it produces.
When it finishes, review before you publish. In our testing the prose was competent and avoided the worst AI tells, and the internal links were accurate. But the output is a draft, not a finished article: verify every product name and statistic it cites, check that any model names or dates are current, and confirm external citations actually support the claim being made. Budget 10–15 minutes of editing per article for this. Used this way, Wisewand is a real accelerator; published unchecked, it will eventually put a claim you cannot defend under your byline.
Step 6: Publish to WordPress
In the article’s Publication settings, pick your connected WordPress site, a category, and an author. Choose Draft as the publication type rather than Direct or Scheduled — that puts the article in your WordPress drafts so you can do a final review and add your featured image inside WordPress before it goes live. Wisewand also offers a Google indexing option (0.1 credit) that submits the URL to Google for indexing after publication — useful, but only turn it on when you are publishing the final version, not a draft.
If you would rather hand the whole schedule to Wisewand, it also has an Autopilot mode that auto-publishes on a set cadence. We covered what that is and what it costs in our Wisewand Autopilot guide — but for learning the tool, the manual flow above gives you the control you want.
How Much Does Wisewand Cost?
Wisewand runs on credits. Subscriptions start at $49/month for Starter (23 credits), and pay-as-you-go credit packs (from 19 credits) never expire — the packs are the lowest-risk way to learn the tool without committing to a subscription. Wisewand bills in euros and shows US visitors a converted dollar price, so treat the dollar figures as approximate (as of July 2026) and check the live pricing page. Remember that media add-ons consume fractional credits, so a fully-featured article costs more than one credit in practice. Use code DAILYAI10 for 10% off any plan or pack. For the full plan-by-plan breakdown and per-article cost math, see our Wisewand review.
Common Wisewand Mistakes to Avoid
- Leaving the language on French. Set the interface and your project’s content language to English before generating, or you will get French scaffolding.
- Trusting the auto-generated outline. Verify every product, stat, and date Wisewand names before publishing — especially in comparison articles.
- Forgetting media credits add up. “1 credit = 1 article” is only the base; cover images, infographics, and audio each add to the cost.
- Publishing Direct instead of Draft. Send articles to WordPress as drafts so you can edit and add a featured image before they go live.
- Skipping the project setup. Automatic internal linking only works when your site URL is attached to the project.
Frequently Asked Questions
Is Wisewand free to use?
No. Wisewand runs on paid credits — there is no standing free tier. Subscriptions start at $49/month, and one-time credit packs (from 19 credits) never expire. Wisewand bills in euros, so the US-dollar figure floats — check the live pricing page. Use DAILYAI10 for 10% off.
Does Wisewand publish directly to WordPress?
Yes, via a secure Application Password connection. You can publish as a draft, directly, or on a schedule — we recommend publishing as a draft so you can review and add a featured image in WordPress first. It also connects to Shopify, WooCommerce, and PrestaShop.
Is Wisewand’s output good enough to publish as-is?
Not without review. In our hands-on testing the prose quality was solid and the internal linking was accurate, but the AI named products and cited stats that needed verification. Treat the output as a strong draft and fact-check it before publishing.
Does Wisewand really do automatic internal linking?
Yes — and it was the strongest feature in our testing. With your site attached to the project, it pulled real, live, indexed URLs from the site and placed them in contextually relevant sections. Anchor text tends to use the linked article’s title.
What is the difference between Article, Affiliation, and E-commerce modes?
Article mode is for standard blog posts, Affiliation mode is tuned for reviews and comparison articles, and E-commerce mode is for category and product pages. All plans include every mode — Wisewand does not gate features by tier, only credit volume.
Is this guide based on real testing?
Yes. The workflow reflects hands-on use of Wisewand, and the pricing was verified the same day from Wisewand’s official site. See our full Wisewand review for the complete findings.
Disclosures
Affiliate disclosure: This article contains affiliate links to Wisewand. If you sign up or buy through them, we may earn a commission at no extra cost to you, and the DAILYAI10 code is our reader discount. We only recommend tools we have used hands-on, and we report what we find — including the caveats above.
Corporate relationships: Wisewand is an independent product, not affiliated with the other tools we review (Rytr and Frase are part of the Copyrytr collective; Wisewand is separate). That does not change anything in this guide — we judge each tool on its own merits.
Editorial independence: Our guidance comes from hands-on testing, not commissions. Affiliate relationships never influence what we publish.
Testing basis: Workflow based on hands-on use of Wisewand (testing sessions April–June 2026); interface re-checked June 20, 2026; pricing verified same-session from wisewand.ai.